Unraveling the Power of Heat Maps in Python: A Comprehensive Guide
Related Articles: Unraveling the Power of Heat Maps in Python: A Comprehensive Guide
Introduction
With enthusiasm, let’s navigate through the intriguing topic related to Unraveling the Power of Heat Maps in Python: A Comprehensive Guide. Let’s weave interesting information and offer fresh perspectives to the readers.
Table of Content
Unraveling the Power of Heat Maps in Python: A Comprehensive Guide

Heat maps, often referred to as heatmaps, are visual representations of data where values are depicted using a color gradient. This gradient typically ranges from cool colors (representing low values) to warm colors (representing high values). They provide a powerful tool for data analysis, enabling the identification of patterns, trends, and anomalies within datasets. Python, with its extensive libraries and versatility, serves as an ideal platform for creating and manipulating heat maps.
This article delves into the world of heat maps in Python, exploring their fundamental concepts, practical applications, and the implementation techniques using popular libraries like Matplotlib and Seaborn. We will also address frequently asked questions and provide useful tips for creating effective and insightful heat maps.
Understanding the Essence of Heat Maps
Heat maps are fundamentally based on the principle of visual encoding, where data is represented using color variations. This allows for the rapid identification of areas with high or low values within a dataset. The choice of color gradient is crucial, as it dictates the visual interpretation of the data. Red, orange, and yellow hues are often associated with high values, while blue and green represent low values.
Key Applications of Heat Maps in Data Analysis
Heat maps find widespread applications across various domains, including:
- Data Exploration: Heat maps facilitate the quick identification of trends, patterns, and outliers in data. This aids in understanding the underlying structure and relationships within the dataset.
- Feature Importance: In machine learning, heat maps can be used to visualize feature importance, revealing which features contribute most significantly to the model’s predictions.
- Correlation Analysis: Heat maps are particularly useful for depicting correlations between variables. Strong positive correlations are typically visualized with bright colors, while negative correlations are represented with dark colors.
- Market Analysis: Heat maps can visualize geographical data, showing sales performance, customer density, or market penetration across different regions.
- Financial Analysis: Heat maps are used to analyze stock market data, identifying periods of high volatility, trends, and potential investment opportunities.
- Medical Research: Heat maps are employed in medical imaging to visualize anatomical structures, identify tumors, and analyze medical scans.
Generating Heat Maps in Python: A Practical Guide
Python provides a rich ecosystem of libraries for creating heat maps. Two of the most popular and versatile options are Matplotlib and Seaborn.
1. Matplotlib: The Foundation of Data Visualization
Matplotlib is the foundational library for data visualization in Python. It offers a wide range of plotting capabilities, including the generation of heat maps.
Basic Heat Map Creation:
import matplotlib.pyplot as plt
import numpy as np

# Create a sample dataset
data = np.random.rand(10, 10)

# Create the heat map using Matplotlib's imshow function
plt.imshow(data, cmap='viridis')

# Add a colorbar for reference
plt.colorbar()

# Set title and axis labels
plt.title('Heat Map Example')
plt.xlabel('X-axis')
plt.ylabel('Y-axis')

# Display the plot
plt.show()
This code snippet creates a simple heat map using a randomly generated dataset. The imshow() function from Matplotlib is used to display the data as an image, with colors representing the values. The cmap argument specifies the colormap to be used, in this case, ‘viridis’.
2. Seaborn: Enhanced Visualizations for Statistical Data
Seaborn is built upon Matplotlib and offers a higher-level interface for creating visually appealing statistical plots, including heat maps. It provides a more streamlined and aesthetically pleasing approach to data visualization.
Heat Map with Seaborn:
import seaborn as sns
import pandas as pd
# Create a sample DataFrame
data = 'A': [1, 2, 3, 4, 5],
'B': [2, 4, 6, 8, 10],
'C': [3, 6, 9, 12, 15]
df = pd.DataFrame(data)
# Create the heat map using Seaborn's heatmap function
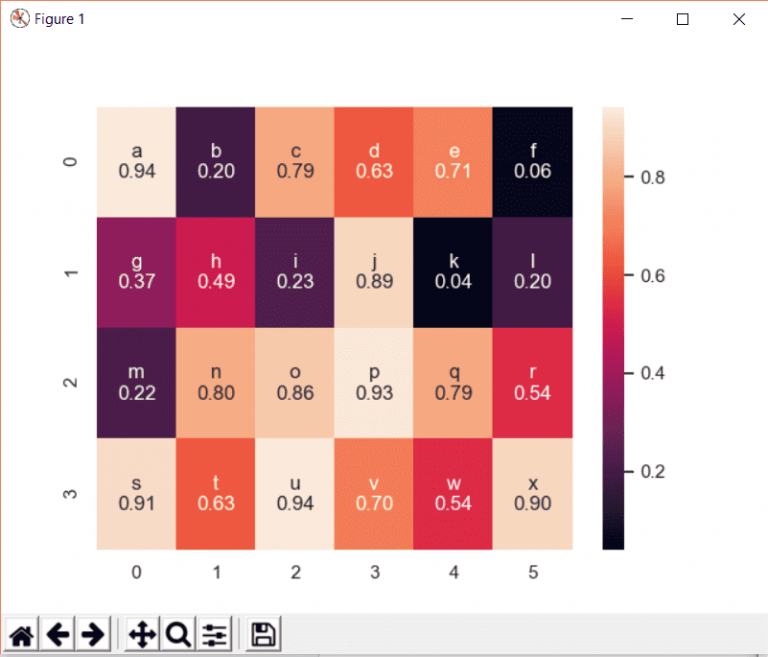
sns.heatmap(df, annot=True, fmt="d", cmap="coolwarm")
# Set title and axis labels
plt.title('Heat Map with Seaborn')
plt.xlabel('Columns')
plt.ylabel('Rows')
# Display the plot
plt.show()This code snippet utilizes Seaborn’s heatmap() function to create a heat map from a Pandas DataFrame. The annot argument enables the display of values within the heat map cells, while fmt="d" specifies the format for displaying integer values. The cmap argument sets the colormap to ‘coolwarm’.
Customizing Heat Maps for Enhanced Insights
Both Matplotlib and Seaborn offer extensive customization options for tailoring heat maps to specific needs. These include:
- Colormap Selection: Matplotlib and Seaborn provide a wide array of colormaps, each offering a distinct visual representation of data. Choosing the appropriate colormap is crucial for conveying the intended message effectively.
- Annotation: Annotating heat maps with values, labels, or other textual information enhances readability and understanding.
- Gridlines and Tick Labels: Adding gridlines and adjusting tick labels improves the visual clarity of the heat map.
- Scaling and Normalization: Scaling and normalization techniques can be applied to the data before generating the heat map to ensure that all values are represented within a consistent range.
-
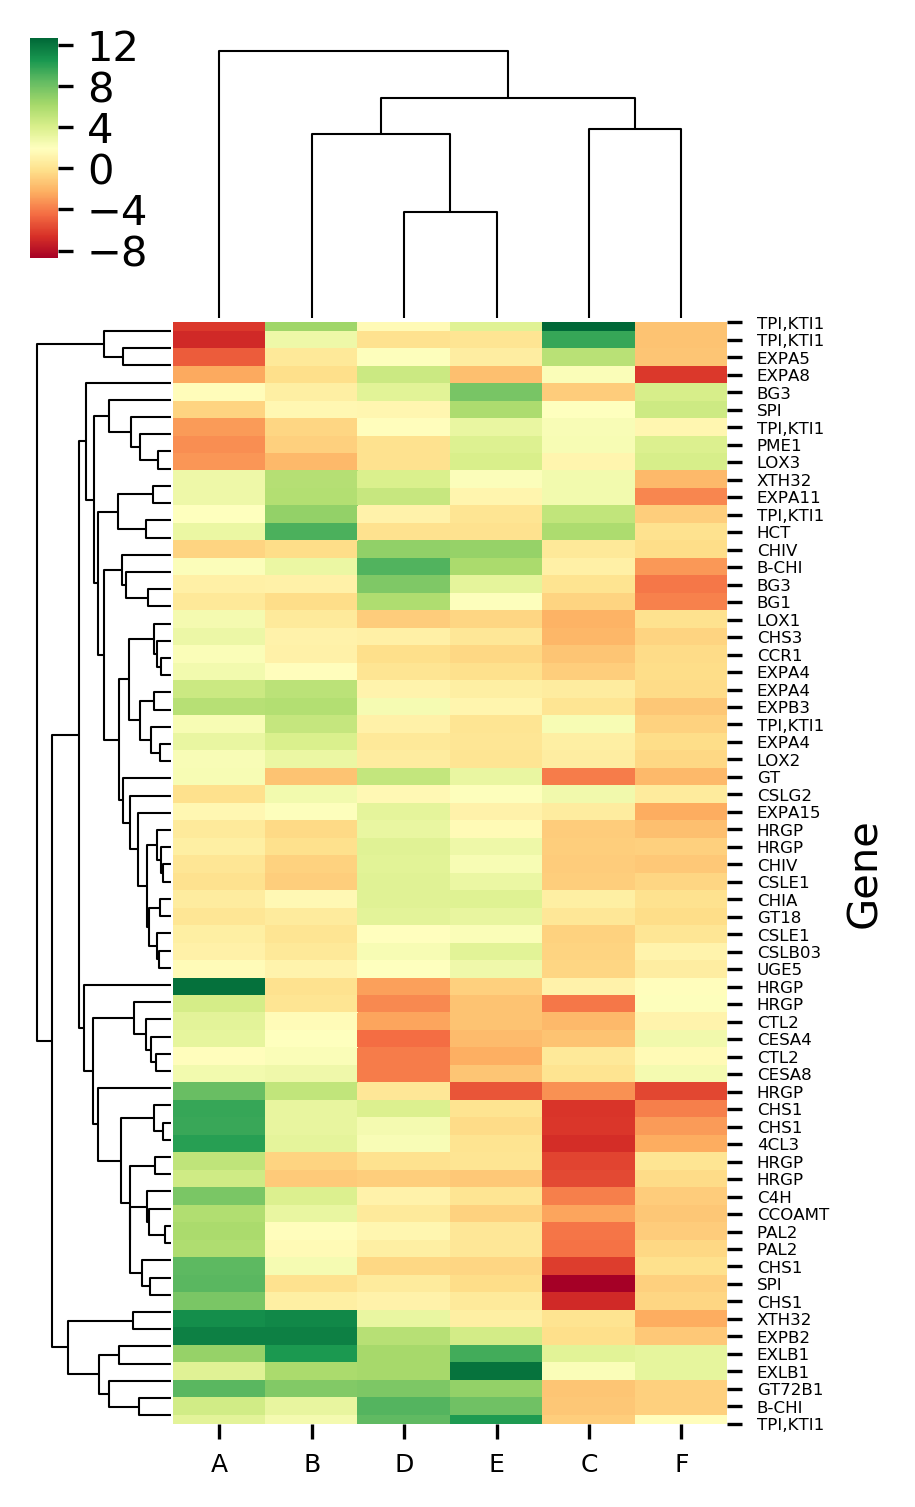
Clustermaps: Seaborn’s
clustermap()function enables the creation of clustermaps, which combine a heat map with hierarchical clustering to reveal hidden relationships within the data.
Beyond Basic Heat Maps: Advanced Techniques
Heat maps can be further enhanced by incorporating advanced techniques, such as:
- Interactive Heat Maps: Using libraries like Plotly or Bokeh, heat maps can be made interactive, allowing users to zoom, pan, and explore the data in detail.
- 3D Heat Maps: By utilizing libraries like Mayavi or Plotly, heat maps can be extended to three dimensions, providing a more comprehensive visualization of multidimensional datasets.
- Animated Heat Maps: Animated heat maps, created with libraries like Matplotlib’s animation module, can visualize data over time, showcasing dynamic changes and trends.
Frequently Asked Questions (FAQs)
Q: What are the best colormaps for heat maps?
A: The choice of colormap depends on the specific data and the message you want to convey. Some commonly used colormaps include:
- Sequential colormaps: These colormaps display a gradual change in color intensity, suitable for representing continuous data. Examples include ‘viridis’, ‘plasma’, and ‘magma’.
- Diverging colormaps: These colormaps use two contrasting colors to represent positive and negative values, suitable for displaying data with a central zero point. Examples include ‘coolwarm’, ‘bwr’, and ‘RdBu’.
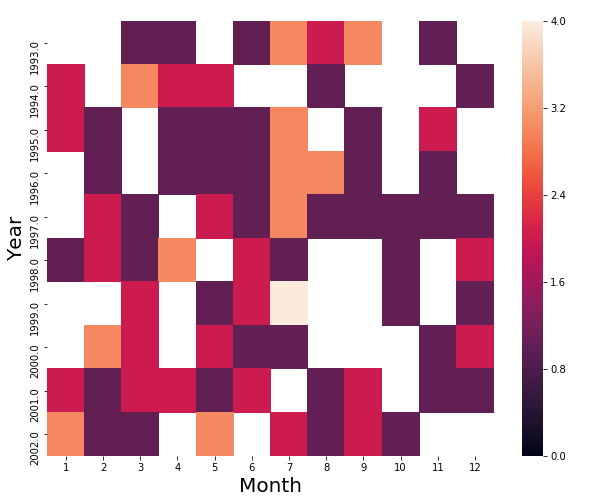
Q: How can I handle missing values in heat maps?
A: Missing values can be handled in several ways:
- Replace with a default value: Replace missing values with a specific value, such as zero or the mean of the data.
- Remove rows or columns: Remove rows or columns containing missing values.
- Use a specialized color: Assign a distinct color to missing values for easy identification.
Q: What are the limitations of heat maps?
A: Heat maps are powerful visualization tools, but they have limitations:
- Large datasets: Heat maps can become cluttered and difficult to interpret with large datasets.
- High dimensionality: Heat maps are primarily suited for visualizing two-dimensional data. Representing higher-dimensional data can be challenging.
- Overinterpretation: Heat maps can be susceptible to overinterpretation, as the visual representation might not always accurately reflect the underlying data.
Tips for Creating Effective Heat Maps
- Choose the right colormap: Select a colormap that effectively conveys the data and aligns with the intended message.
- Annotate appropriately: Provide clear and concise annotations to enhance readability.
- Use a consistent scale: Ensure that the color scale is consistent across different heat maps for comparison purposes.
- Consider using a clustermap: If the data exhibits complex relationships, a clustermap can provide valuable insights.
- Test with different datasets: Experiment with different datasets to understand how the heat map visualization behaves under varying conditions.
Conclusion
Heat maps are a valuable tool for data analysis, providing a visually intuitive way to explore patterns, trends, and anomalies within datasets. Python, with its extensive libraries like Matplotlib and Seaborn, offers a powerful platform for creating and manipulating heat maps. By understanding the fundamental concepts, exploring various applications, and mastering customization techniques, data analysts can leverage heat maps to gain deeper insights from their data and make informed decisions.


Closure
Thus, we hope this article has provided valuable insights into Unraveling the Power of Heat Maps in Python: A Comprehensive Guide. We thank you for taking the time to read this article. See you in our next article!