Substance Painter 2: Unlocking the Power of Projection Mapping
Related Articles: Substance Painter 2: Unlocking the Power of Projection Mapping
Introduction
In this auspicious occasion, we are delighted to delve into the intriguing topic related to Substance Painter 2: Unlocking the Power of Projection Mapping. Let’s weave interesting information and offer fresh perspectives to the readers.
Table of Content
Substance Painter 2: Unlocking the Power of Projection Mapping
![[Substance Painter 2] Using projection tool to draw image directly - YouTube](https://i.ytimg.com/vi/uKeJH6NW8fI/maxresdefault.jpg)
Substance Painter 2, a leading 3D painting software, offers a powerful tool for artists: projection mapping. This feature allows users to project 2D images, textures, or even entire scenes onto 3D models, creating intricate details and complex surface variations with remarkable ease. This article delves into the core mechanics of projection mapping in Substance Painter 2, exploring its functionalities, benefits, and applications.
Understanding the Fundamentals of Projection Mapping
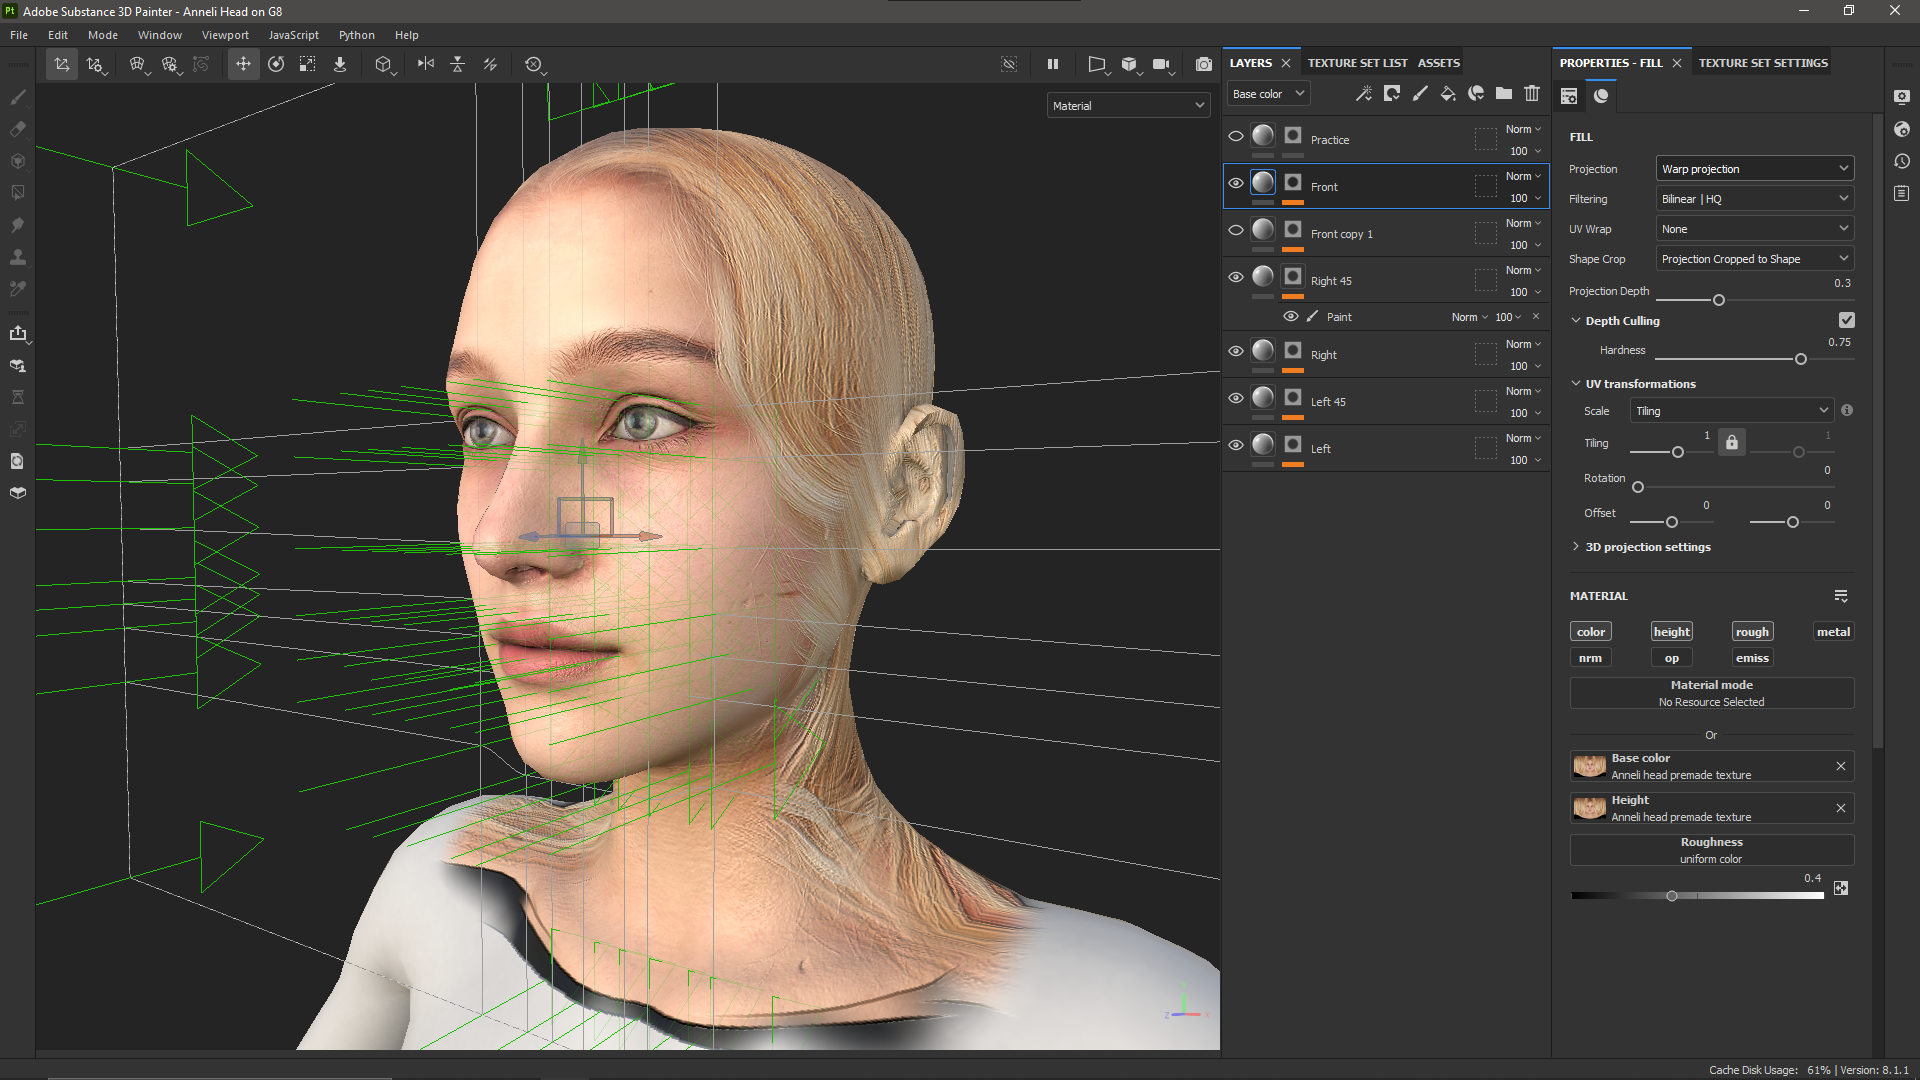
At its core, projection mapping is a technique that uses a projector to display images onto irregular or curved surfaces. In the context of 3D modeling, Substance Painter 2 leverages this concept to apply textures and details onto complex 3D models. The software utilizes a virtual projector, allowing artists to manipulate the projected image’s position, orientation, and scale to achieve the desired effect.
The Projection Mapping Workflow in Substance Painter 2
- Import Model and Textures: Begin by importing the 3D model into Substance Painter 2. If you are using pre-existing textures, import them as well.
- Create a Projection: Navigate to the "Projection" tab in the Substance Painter 2 interface. Here, you can create a new projection by selecting the "Add Projection" button.
- Select Projection Type: Choose the desired projection type, such as "Planar," "Cylindrical," or "Spherical." Each projection type offers unique distortions and perspectives.
- Define the Projection Area: Define the area of the model where the projection will be applied. This can be achieved by selecting specific UV islands, painting directly on the model, or using a predefined selection.
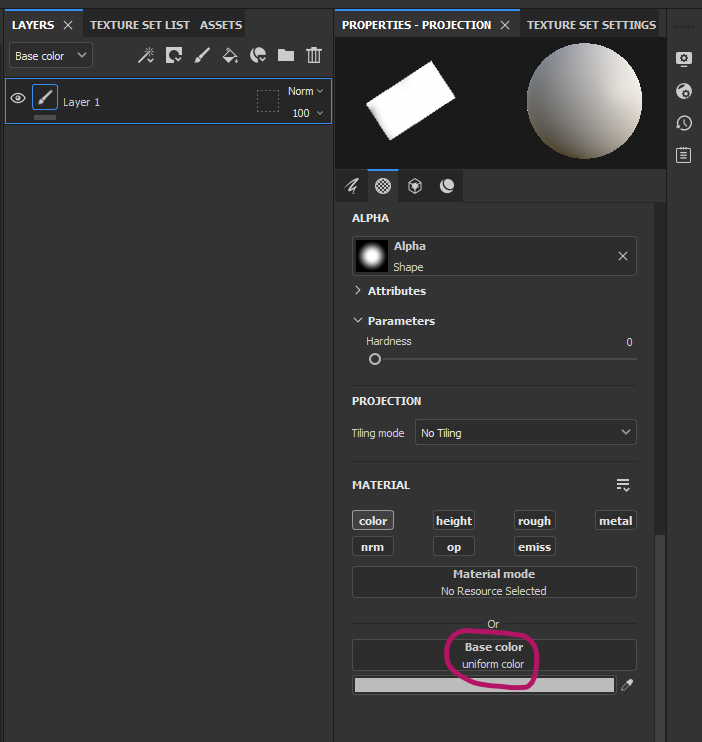
- Import the Projection Image: Select the 2D image or texture that you wish to project onto the model.
- Adjust Projection Settings: Fine-tune the projection’s position, rotation, scale, and distortion settings to achieve the desired alignment and effect.
- Apply the Projection: Once satisfied with the projection settings, apply the projection to the model. This will transfer the chosen image onto the defined area of the 3D model.
Benefits of Projection Mapping in Substance Painter 2
- Efficiency and Speed: Projection mapping significantly streamlines the texturing process. Artists can quickly apply complex details and textures to intricate models without manually painting every element.
- Enhanced Realism: Projection mapping allows for the creation of highly realistic and detailed surfaces. The ability to project textures and images onto complex geometries enables the creation of natural-looking materials, intricate patterns, and realistic wear and tear.
- Creative Flexibility: Projection mapping offers a wide range of creative possibilities. Artists can experiment with different textures, images, and projection types to create unique and visually appealing effects.
- Non-Destructive Workflow: Substance Painter 2’s projection mapping system operates non-destructively. This allows for easy adjustments and modifications to the projected image without permanently altering the original model or texture.
Applications of Projection Mapping in Substance Painter 2
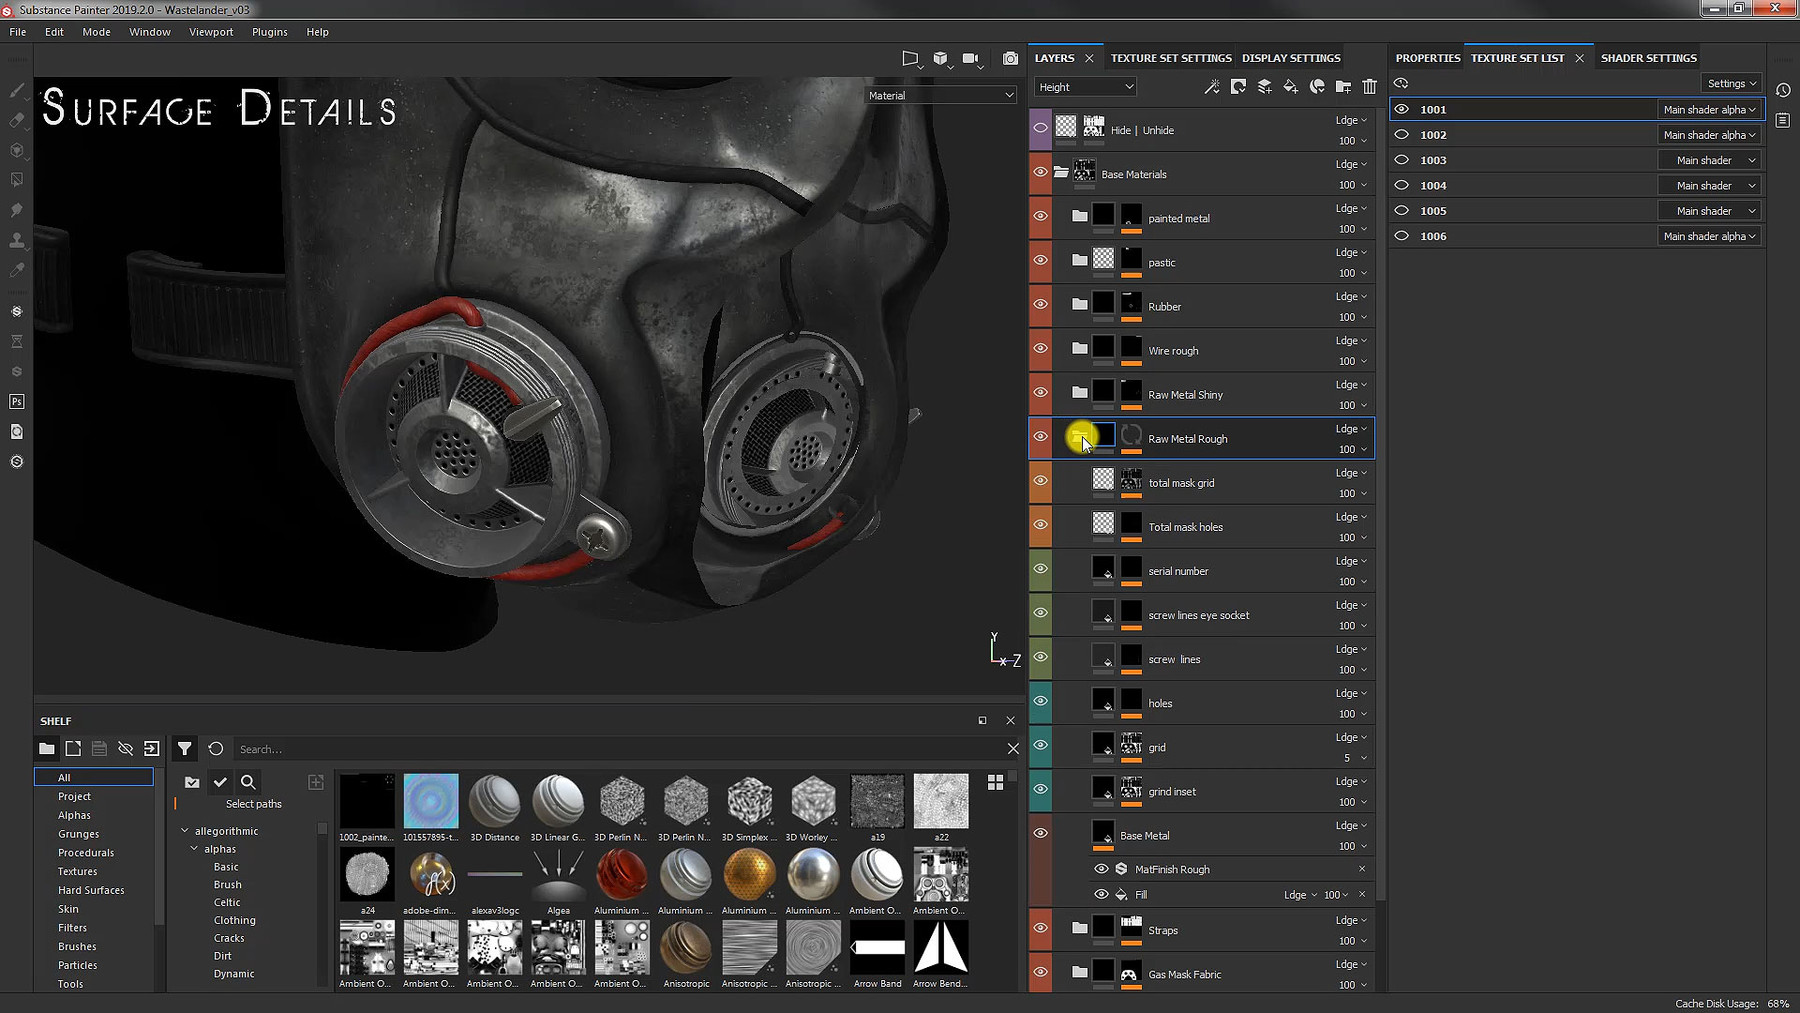
- Creating Detailed Textures: Projection mapping is ideal for creating intricate details on surfaces, such as brickwork, wood grain, or fabric patterns. Artists can project high-resolution textures onto the model, adding a level of realism that would be difficult to achieve through traditional painting methods.
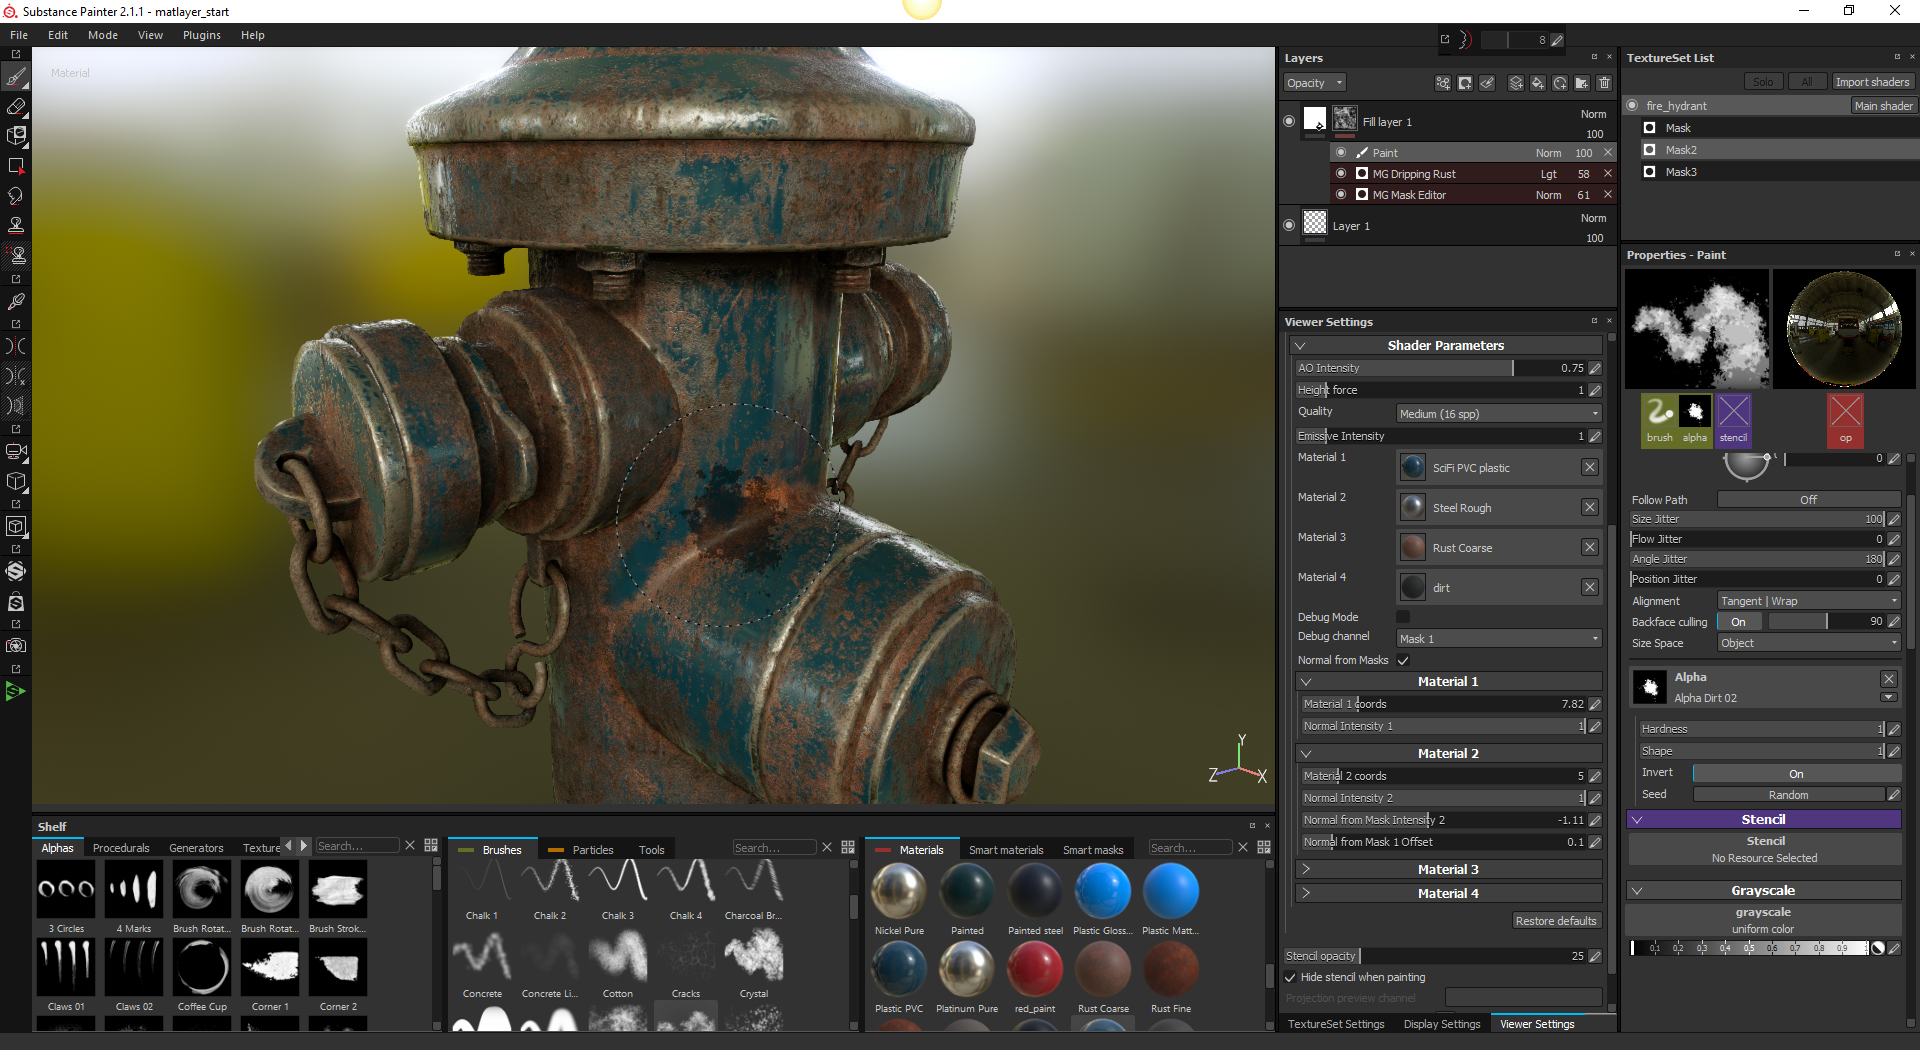
- Applying Wear and Tear: Projection mapping is a powerful tool for simulating wear and tear on surfaces. Artists can project images of scratches, dents, or dirt onto models, creating realistic aging effects.
- Adding Surface Variations: Projection mapping allows artists to create variations in surface texture and color. This can be used to add depth and interest to models, creating visually appealing and realistic objects.
- Generating Procedural Textures: Projection mapping can be combined with procedural texturing techniques to create dynamic and complex surface details. Artists can project procedural noise or patterns onto models, generating realistic textures that adapt to the model’s geometry.
FAQs Regarding Projection Mapping in Substance Painter 2
Q: What file formats are supported for projection images?
A: Substance Painter 2 supports a wide range of image formats, including PNG, JPG, TIFF, and EXR.
Q: Can I use multiple projections on a single model?
A: Yes, you can apply multiple projections to a model. This allows for the creation of complex and intricate surface details.
Q: How do I adjust the projection’s distortion?
A: You can adjust the projection’s distortion using the "Distortion" settings in the "Projection" tab. These settings allow you to control the amount of warping and stretching applied to the projected image.
Q: Can I use projection mapping to create decals?
A: While projection mapping is not specifically designed for creating decals, you can achieve a similar effect by using the "Planar" projection type and carefully adjusting the projection area.
Q: How do I remove a projection?
A: You can remove a projection by selecting the projection in the "Projection" tab and clicking the "Delete" button.
Tips for Using Projection Mapping in Substance Painter 2
- Optimize Image Resolution: Use high-resolution images for projection mapping to ensure detailed and realistic results.
- Experiment with Projection Types: Explore different projection types to find the best fit for your project and model geometry.
- Use UV Islands: Carefully define the UV islands where you want to apply projections to ensure accurate alignment and distortion.
- Combine Projection Mapping with Traditional Painting: Use projection mapping as a starting point and then refine the textures with traditional painting techniques for a more nuanced and personalized look.
- Take Advantage of Non-Destructive Workflow: Experiment with different projection settings and image options without worrying about permanently altering the model or textures.
Conclusion
Projection mapping in Substance Painter 2 offers a powerful and versatile tool for 3D artists. This feature streamlines the texturing process, enhances realism, and unlocks a wide range of creative possibilities. By leveraging the benefits of projection mapping, artists can create stunning and intricate 3D models with ease and efficiency, pushing the boundaries of digital art and design. As the software continues to evolve, projection mapping will undoubtedly become an even more integral part of the 3D artist’s toolkit, empowering them to create breathtaking and immersive worlds.


Closure
Thus, we hope this article has provided valuable insights into Substance Painter 2: Unlocking the Power of Projection Mapping. We appreciate your attention to our article. See you in our next article!